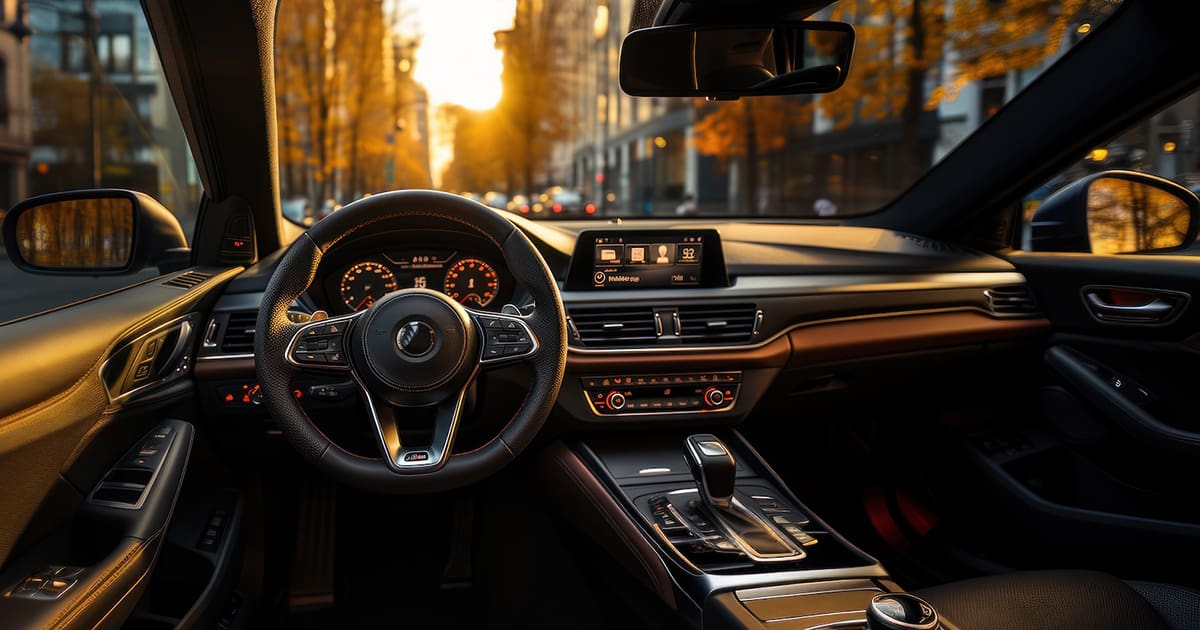
Car audio enthusiasts often invest in high-quality speakers, amplifiers, and subwoofers to achieve the best sound. However, the vehicle’s interior acoustics play a crucial role in how the system performs. Factors such as interior materials, seating positions, and speaker placement can dramatically impact sound quality. Understanding these elements and employing professional tuning can help optimize your car audio experience.
The Impact of Interior Materials on Sound Quality
Your car’s interior materials significantly influence how sound waves travel and interact within the cabin. Unlike a dedicated home theater with carefully designed acoustics, vehicle interiors are filled with reflective, absorbent, and diffusive surfaces that can either enhance or degrade sound quality.
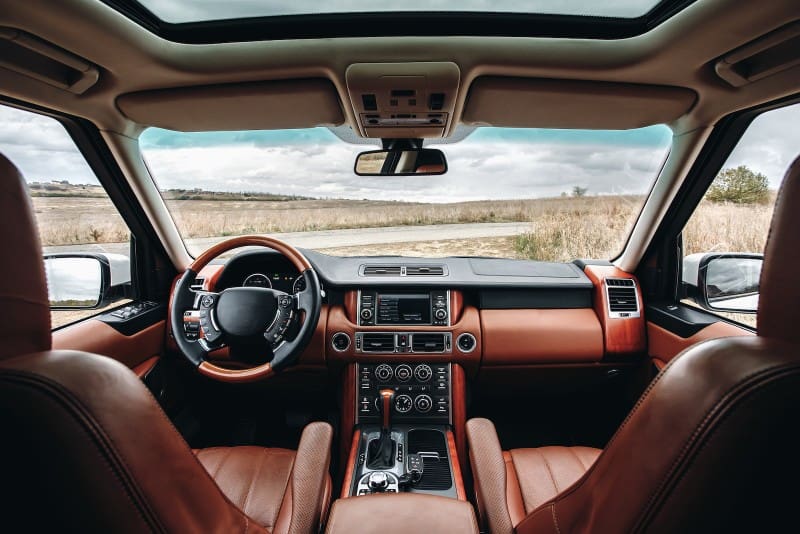
- Soft vs. Hard Surfaces: Softer materials such as carpet and headliners absorb sound, reducing echoes and excessive reverb. On the other hand, hard surfaces like glass, plastic panels, and leather seats reflect sound, which can lead to unwanted resonance and distortion. In the middle, we have seats with cloth-covered closed-cell foam cores. While these aren’t as reflective as plastic or glass, they still reflect more sound than they absorb.
- Road and Engine Noise: The interior’s acoustic properties also determine how much external noise interferes with the listening experience. Vehicles with better insulation and sound-deadening materials, such as those found in luxury models, tend to have a quieter cabin, allowing audio details to remain crisp and clear.
- Door Panels and Dashboards: These surfaces typically reflect sound waves, affecting midrange and high frequencies. Many car audio enthusiasts will add a carpeted dash pad to help minimize reflections. Short of reupholstering the door panels, no simple upgrades can improve their absorptive versus reflective properties.
How Seating Positions Influence Sound Perception
Unlike in a home audio setup where the listener is positioned optimally for a balanced soundstage, car interiors present unique challenges due to varied seating positions.
Unless you drive a McLaren F1 or Gordon Murray T.50, the driver is rarely centered between the left and right speakers, creating an imbalance in perceived sound. This issue often results in one side sounding louder than the other. Further, the sound from the nearby speakers arrives at the listening position before that from the speakers farther away. These imbalances skew the distribution of sounds across the vehicle toward the speakers closest to the listener.
The perfect audio system would create a virtual center image where vocals and primary instruments appear from the dashboard rather than individual speakers. Each sound on this soundstage would be well focused. Imagine an acoustic performance on a stage in front of you. Each instrument would be easy to pick out in the performance.
Audio systems that use a digital signal processor with upmixing capabilities can accurately recreate this experience in a car or truck.
The Role of Speaker Placement in Audio Performance

Speaker placement is one of the most influential factors in car audio quality. Unlike home systems where speakers can be strategically positioned, car audio components typically must fit into predetermined locations, requiring careful consideration to optimize sound.
Factory-installed speakers are often placed in doors, dashboards, or rear decks, which may not be ideal for accurate sound reproduction. Every location has benefits and drawbacks. Balancing these, combined with proper system design, configuration and calibration, is key to creating a great-sounding car audio system.
- Tweeter Positioning: Tweeters handle high frequencies, which are highly directional. Correctly angled tweeters are paramount to audio systems where balanced high-frequency performance is key. The angle of the left and right tweeters should be similar in both the driver and passenger positions to ensure equal high-frequency sound distribution.
- Midrange Speaker Positioning: Midrange speakers are key to determining the source of the listening experience. While there are benefits to having midrange speakers installed in the door, this results in a soundstage that spans the middle of the vehicle rather than being out of the dash. On the other hand, having speakers in the dash can result in reflections and wavelength-based cancellations called comb filtering. The music may seem to come from way out in front of you, but it will be much harder for the technician to calibrate your audio system to make it sound natural.
- Midbass Speaker Positioning: Midbass speakers typically play 80 to 300 hertz in a high-end car audio system. Male vocals extend down to 100 hertz. As such, midbass speakers must also be positioned forward in the vehicle. More importantly, the speakers must be installed in a location with adequate airspace for the drivers to function correctly. Small pods don’t work. These undersized enclosures result in the sound will be riddled with unwanted distortion and poor frequency response.
- Subwoofer Location: Subwoofer placement affects low-frequency sound waves less, but their interaction with the cabin can create peaks and nulls in bass response. Proper tuning helps achieve smooth, deep bass without overpowering other frequencies.
How Professional Tuning Compensates for Acoustic Challenges

Achieving balanced and immersive sound requires professional tuning, even with the best speakers and placement. Digital signal processor adjustments are essential for overcoming vehicle acoustic limitations.
- Signal Delays: Applying delays to those speakers closest to the listening position can compensate for less-than-ideal speaker positioning. These delays ensure that sound from all speakers reaches the listener simultaneously. This adjustment creates a more natural and immersive experience.
- Equalizer Adjustments: Adjusting the frequency response of each speaker in the vehicle compensates for imbalances caused by reflections and material absorption. By adjusting specific frequency ranges, technicians can enhance clarity and eliminate boomy or harsh tones. The goal is to provide smooth octave-to-octave tonal balance so voices and instruments sound realistic.
- Crossover Settings: Crossovers dictate which frequencies each speaker handles. Properly setting crossovers ensures that subwoofers, midrange drivers, and tweeters work harmoniously without overlap or gaps in frequency response.
Maximizing Your Car Audio Experience
Understanding vehicle acoustics and investing in professional tuning can elevate your car audio system from good to exceptional. For the best results, visit a qualified retailer near you to explore professional tuning and acoustic treatments tailored to your vehicle’s unique characteristics.
This article is written and produced by the team at www.BestCarAudio.com. Reproduction or use of any kind is prohibited without the express written permission of 1sixty8 media.


